Python program to present an array of pictures and their labels
• • Reading time: 3 minutes
Last updated:
In a visual world eye-tracking experiment, sometimes the researcher needs to familiarise participants with the pictures they will see before the eye-tracking procedure to allow the participants to associate each picture with a specific label. On this page I share a Python program for this familiarisation task, based on pygame.
What this program does:
- Present the participant with a series of pictures + labels.
- Participants advance to the next picture + label by pressing the space key.
- Record the duration each picture + label was presented.
The experiment (instructions and trial) can be in any language supported by UTF-8. Just make sure you specify a font that supports that language.
Step 1: Preparation
- Make sure Python and pygame are installed.
- Download the Python script.
- Gather the pictures you want to present in a single folder.
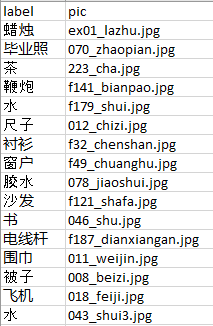
- Get a .csv file for your list of pictures to be presented:
- The first column is the labels
- The second column is the picture file names
- The first row is the header

Step 2: Run the script
Open the Python script in an IDE and pay attention to these variables:
- input_file: string. The path to your .csv file containing the list of pictures and their labels.
- pic_dir: string. The path to the folder containing all of your pictures. Make sure it ends with the ‘/’.
- results_dir: string. The path to the folder where you want the duration data to be stored. Make sure it ends with the ‘/’.
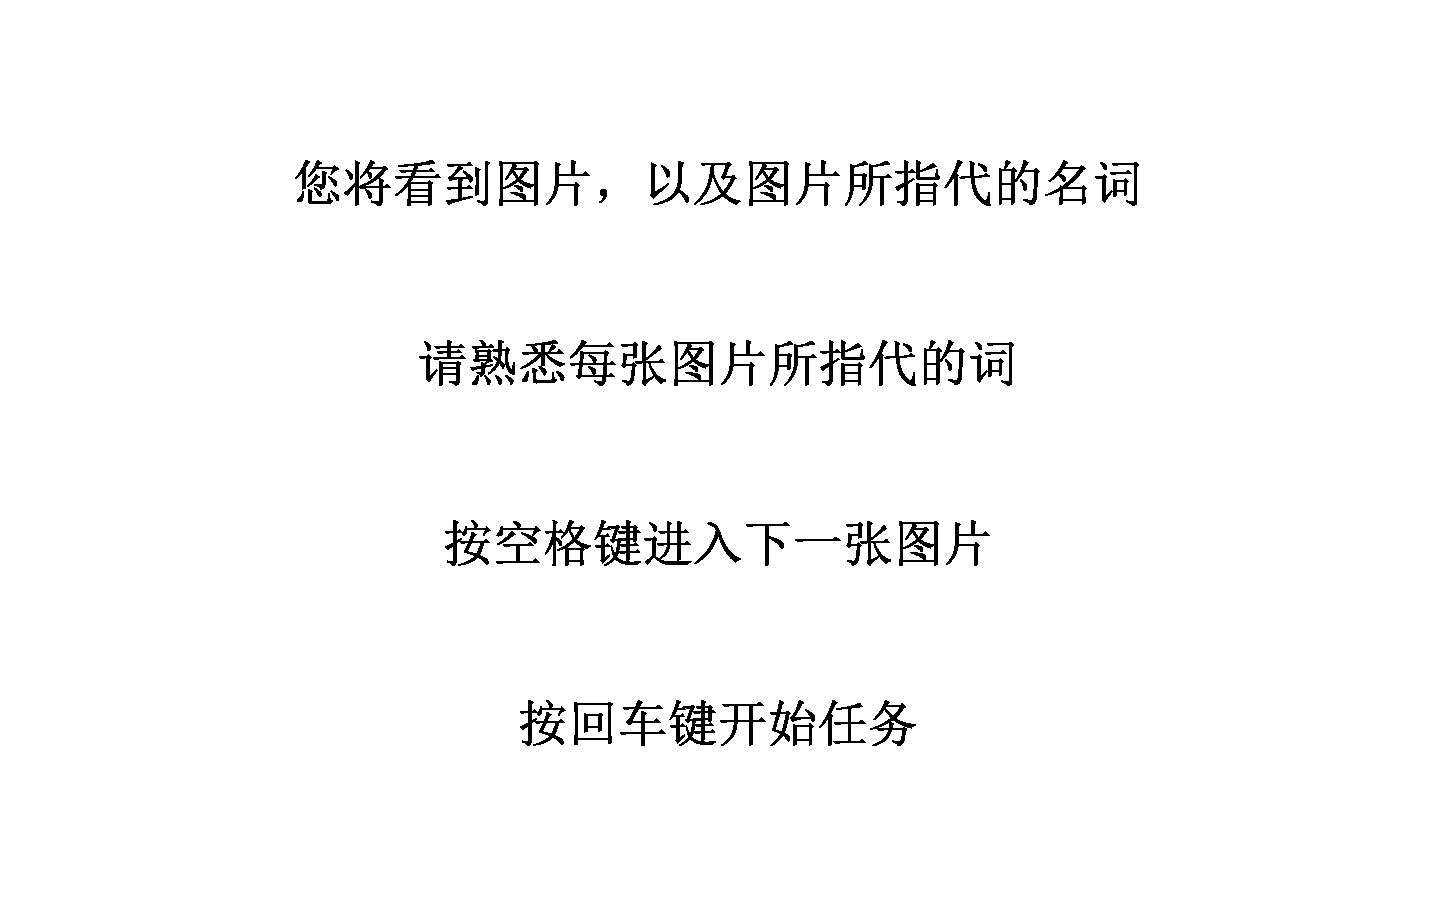
- instructions: list of strings. A list of instructions to show the participants. Each element is shown in one line.
- instruction_font: string. Name of the font that you’d like to use for the instructions. Must exist in the system.
- instruction_font_size: integer. Font size of the instructions.
- trial_font: string. Name of the font that you’d like to use in trials (to show the labels). Must exist in the system.
- trial_font_size: integer. Font size of the labels.
Change the values of those variables to suit your needs. Then, run the Python script.
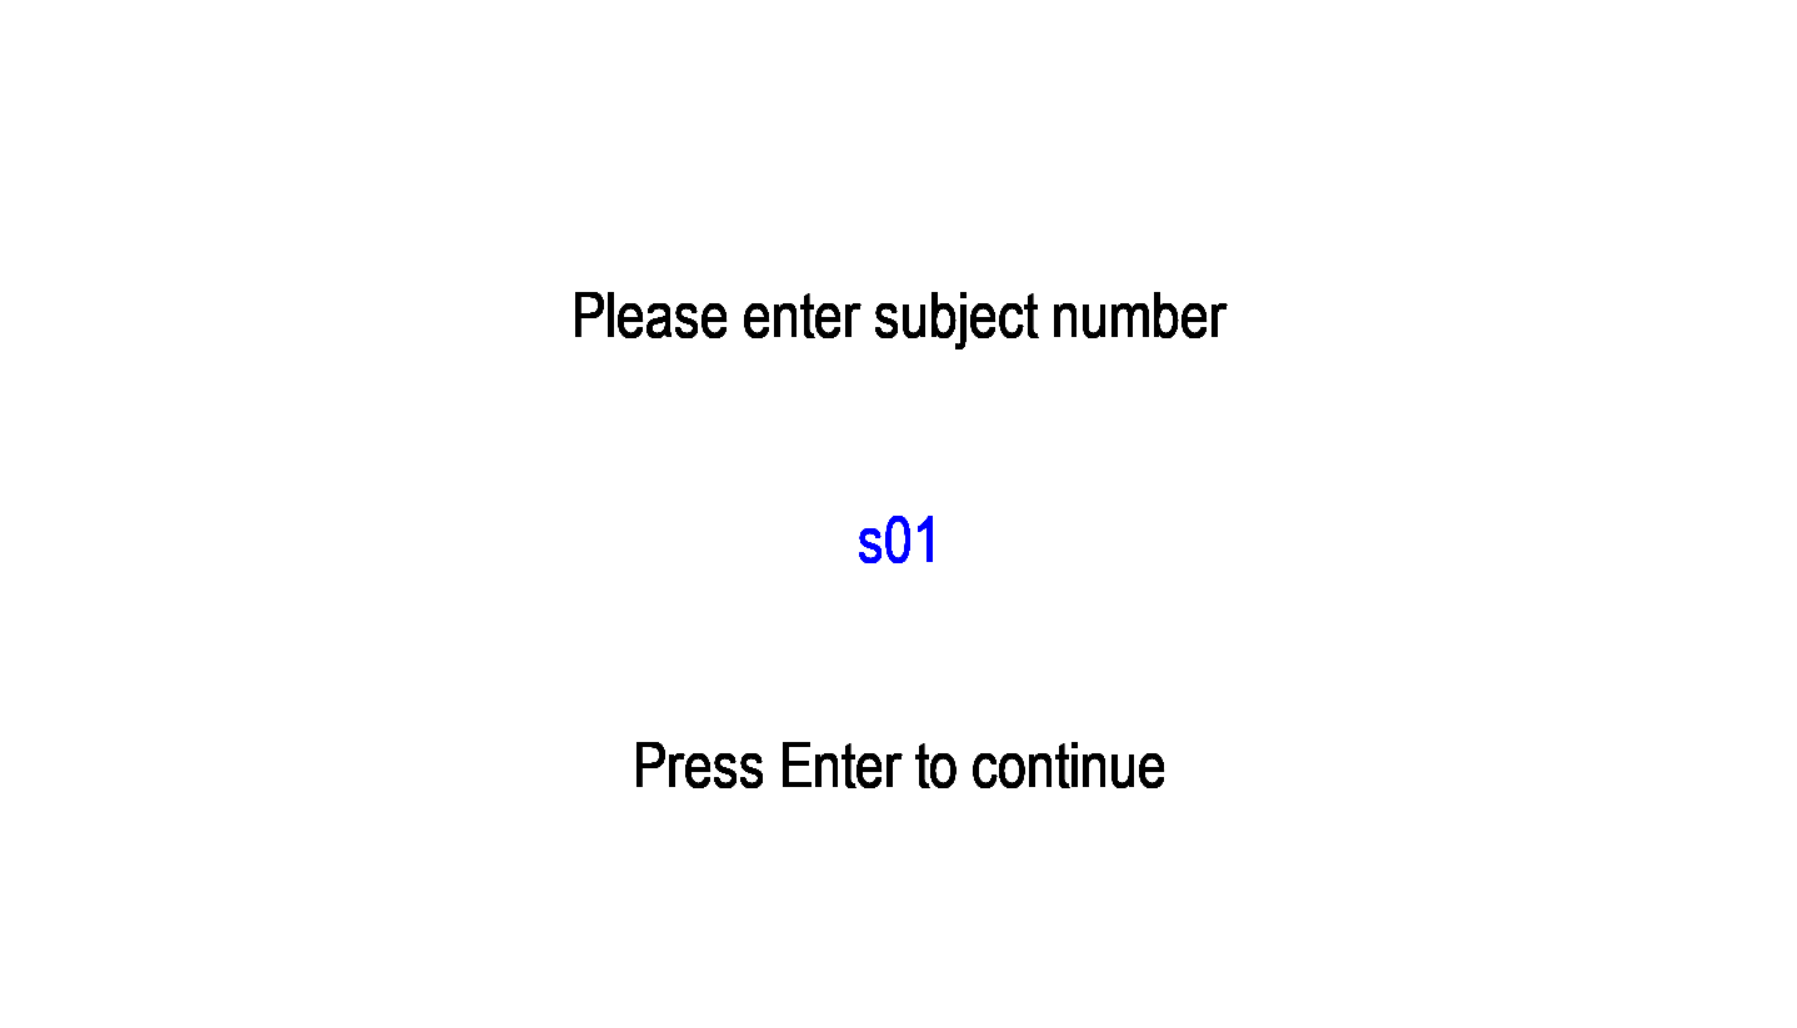
You should first see a screen that asks you to provide a subject number. This will be the name of your results file as well as the subject number recorded in the data. Start typing and press Enter to confirm and advance.

Then, you should see the instructions. Press Enter to start the task.

In each trial, a random picture along with its label is presented on the screen, with the picture on top, the label below. Press space once the participant is done with looking at it and advance to the next trial.

Once all trials in the list have finished, the program will quit after creating a data file named subject.csv in the designated folder. The data file will record the date and time of trial, the subject number, the trial number, the picture file, the label, and how much time is spent on presenting that picture (rt, in milliseconds).

At any time when the program is running, quit the program by pressing Escape twice in a row. A data file with all presented trials will be created before quitting so don’t worry about losing records.