My workflow of creating PDF and docx files using Rmd and Markdown
• • Reading time: 11 minutes
Last updated:
On this page, I record my workflow of working with Markdown, RMarkdown, and Pandoc, to achieve a good writing and rendering experience, while allowing some room for collaboration.
Summary of my actual workflow:
- Write (separate sections of my documents) in markdown.
- Have a parent RMarkdown file that has markdown children.
- For PDF: knit the RMarkdown parent file.
- For MS Word docx: knit the RMarkdown parent file into PDF while keeping the tex file. Then use Pandoc to convert tex to docx.
What I like about this workflow:
- Markdown is supported by most text editors and it’s easy to find one where it feels comfortable to write.
- Knitting RMarkdown is extremely straightforward with just one click.
- Letting knitr keep the tex and letting Pandoc do the tex to docx conversion creates better-looking docx files than letting knitr generate docx files directly.
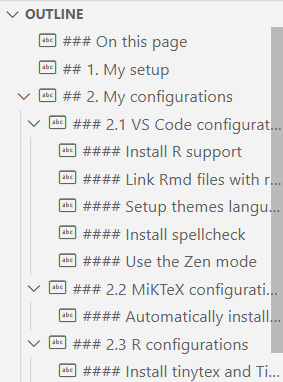
On this page
- My setup
- My configurations
- Example
- Putting together a large document: .Rmd parent and .md/.Rmd children
- Tips
Might be helpful: A more detailed tutorial on creating .rmd for rendering to .pdf
1. My setup
On my Windows 10 operating system, I installed these:
2. My configurations
2.1 VS Code configurations
Install R support
This is to use R from VS Code. Install the R Extension for VS Code.
Link Rmd files with rmd language
This step ensures any language specific settings you use in VS Code get correctly assigned to .Rmd files. I chose to link .Rmd with the rmd language, to use knitr from within VS Code. However, this link will make VS Code fail to generate document outline. If you don’t feel like you need to knit directly from VS Code, you can instead link .Rmd with markdown, which will allow VS Code to generate document outline, which is super helpful for organising your texts:
In VS Code, press Ctrl+, to open settings. Search for files in settings, and at Files: Associations, associate *.Rmd with rmd.

Setup themes and language-specific editor fonts
You can change the default dark theme to a theme that gets you into the mood of writing by selecting clicking on the Manage icon at the sidebar, then select Themes - Color Theme. Or press Ctrl+K then Ctrl+T.

In VS Code, press Ctrl+Shift+P to open the Command Palette. Search for Preferences: Open User Settings (JSON) to open settings.json.

Inside settings.json, add
{
    "[markdown]": {
        "editor.fontFamily": "Calibri",
        "editor.fontSize": 18
    },
    "[rmd]": {
        "editor.fontFamily": "Calibri",
        "editor.fontSize": 18
    },
}
These lines specify that I want VS Code to show markdown as well as rmd files with Calibri size 18, which is what I feel the most comfortable looking at while I’m writing large chunks of texts.
Install spellcheck
Spellcheck is perhaps the most important thing I need to be able to write directly in VS Code. Install Code Spell Checker.
For me, it’s also very helpful to include "editor.renderWhitespace": "all" in my settings.json, so that I could monitor whether I accidentally put more whitespace than needed in my texts.
For grammar suggestions, I use the Grammarly extension. However this extension’s current support for Markdown files is not perfect (for example for some reasons it won’t recognize some of my blog posts).
Install word count
Word count is important for writing, needless to say. Unfortunately I haven’t found a VS Code word count extension that’s designed specifically for text writing (only counting words while ignoring markdown symbols and code chunks). The word count extension I’m currently using is WordCounter.
Markdown preview
I couldn’t find a perfect solution for Pandoc-based preview tool, but Codebraid Preview does a decent job. Not that in order for the citation process to work in the preview, the default reader for .md files needs to be set to markdown instead of the default commonmark_x. Note that there is some issues with rendering raw LaTeX in markdown files. Details in the extension’s documentation.
Use the Zen Mode
I use the Zen Mode of VS Code when I’m writing. Zen Mode allows you to focus on the writing by hiding most of the UI. Enter Zen Mode by pressing Ctrl+K then Z. Exit Zen Mode by double pressing Esc.
2.2 MiKTeX configurations
Automatically install missing packages
This step lets MiKTeX automatically install missing LaTeX packages, so you don’t need to approve each time.
In MiKTeX Console, select Settings, then select Always. You can choose whether missing packages are to be installed automatically (on-the-fly).

2.3 R configurations
Install tinytex and TinyTeX
(I’m not sure whether this step is needed, but I was having trouble asking R to find MiKTeX when rendering PDFs, so I just installed TinyTeX instead.) In a R console (either in RStudio or VS Code), run install.packages("tinytex") and then tinytex::install_tinytex().
3. Example
3.1 Writing in .md then rendering .pdf and/or .docx
How to render files using Pandoc
This is an example of writing in .md and rendering .pdf, .tex, or .docx files using Pandoc.
First, prepare your .md file. Write your main text in Markdown syntax. Inside the YAML header which is enclosed in dashes at the beginning of the document, you can specify your document’s metadata such as title, author, date, and what to include as tex code before the document. These metadata are essentially Pandoc options. A list of what’s possible to include in the YAML header can be found here. Following the link you can also learn how to, instead of using a YAML header block in each of your markdown file, use what’s called a default file to make things more concise.
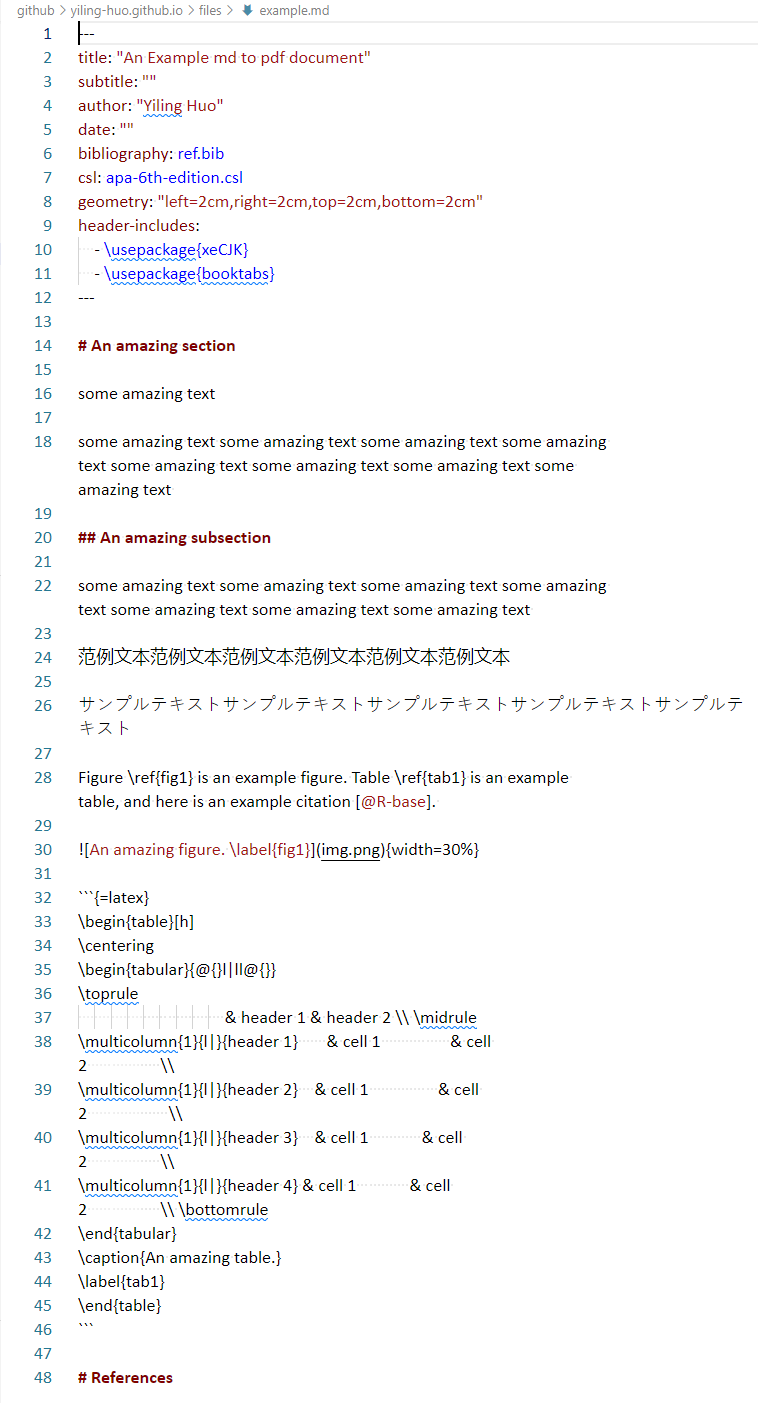
The default Pandoc PDF layout is somewhat odd with extremely large margins, which is why I like to specify page margins manually using geometry: "left=cm,right=cm,top=cm,bottom=cm".
After preparing your .md file, search for cmd in your Start menu to open a command prompt. In the command prompt, go to your directory by running cd:
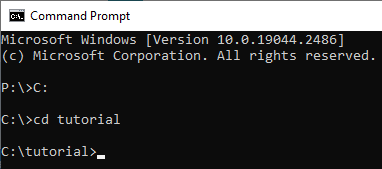
Use Pandoc to convert your documents by running
pandoc input.md -o output.pdf
If you are using xeCJK, switch to xelatex engine by adding --pdf-engine=xelatex. If you have any citations, add -C to include the citation procedure:
pandoc -C --pdf-engine=xelatex input.md -o output.pdf
Pandoc options are very powerful. Detailed formatting such as using templates are all realised using options. More details at Pandoc User’s Guide.
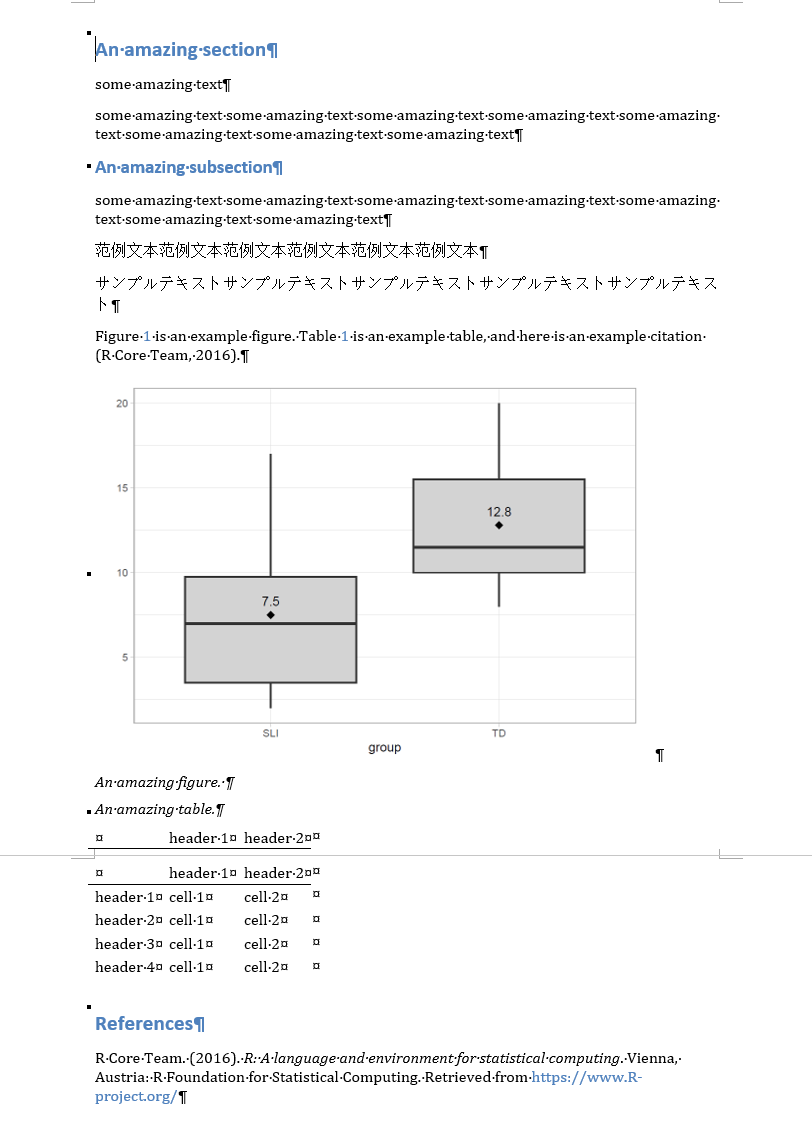
Your output file should be created:

Change the output format to convert to other formats. To create .docx, if there are LaTeX code chunks in the .md, you can first convert to .tex, then to .docx
pandoc -C input.md -o temp.tex

pandoc -C temp.tex -o output.docx
Note that .docx requires more detailed options to work perfectly. I only use the .docx files so that my supervisor can directly comment and edit the texts on MS Teams. So missing a few unimportant elements or images not being the best size is trivial to me.
More elements to your .md file
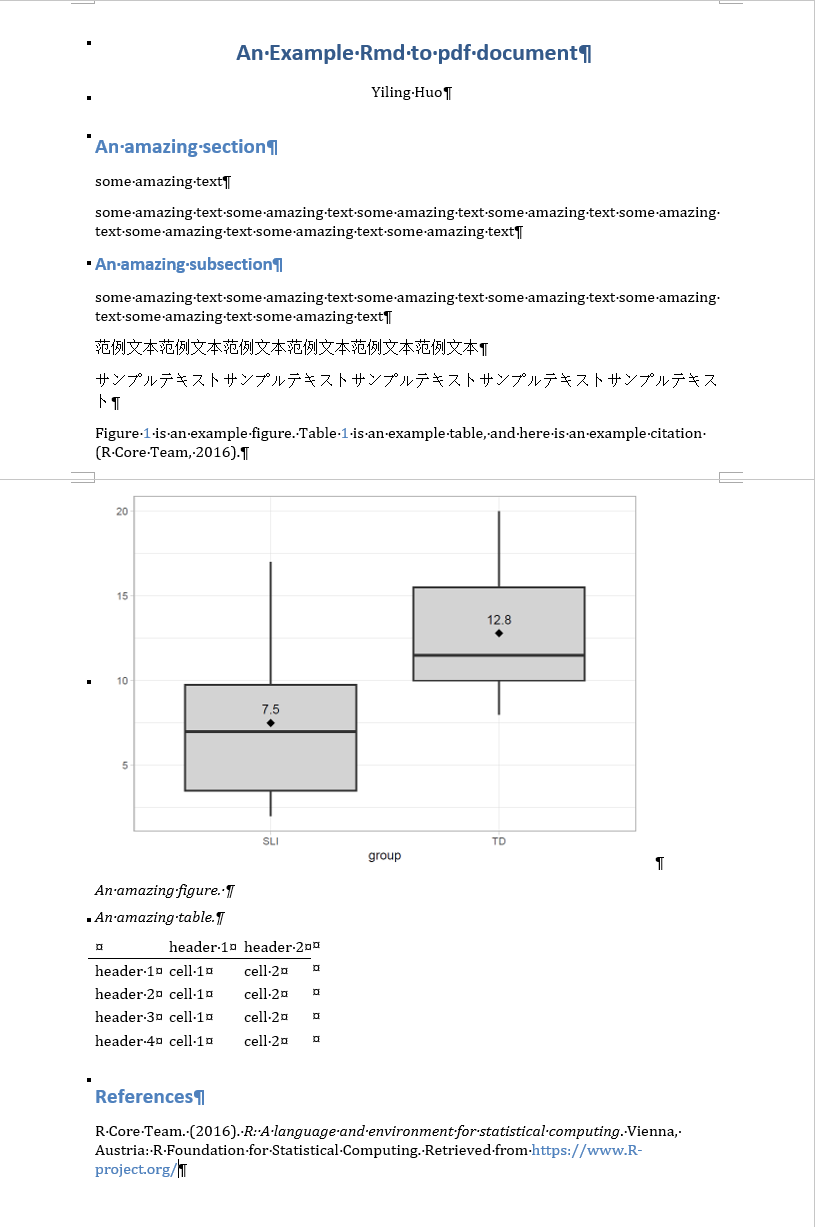
I have a more detailed tutorial on creating .Rmd for rendering to .pdf. The tutorial shows how to include figures, tables, citations, linguistic examples, etc. Anything that does not require R code chunks to realise can also be used in .md files.
3.2 Writing in .Rmd then rendering .pdf and/or .docx
Once we have the R Extension for VS Code, we can write in the RMarkdown files and convert to other formats inside VS Code. The YAML header for RMarkdown files and for markdown files look fairly similar, but you can specify many things easily under output: pdf_document with RMarkdown. For example:
---
output:
    pdf_document:
        latex_engine: xelatex
        extra_dependencies: ['xeCJK', 'booktabs']
        number_sections: true
        keep_tex: true
        includes:
                after_body: appendix.tex
---
After preparing your .Rmd file, knit your file to .pdf other formats by clicking the Knit Rmd button, or pressing Ctrl+Shift+K.

For MS Word files, use output: word_document to knit to .docx. Note that knitting directly to .docx will ignore LaTeX code. If you have LaTeX code in your document, you can first convert to .tex by letting R keep the .tex file when rendering to .pdf, then let Pandoc handle the .tex to .docx conversion:
---
output:
    pdf_document:
        keep_tex: true
---
pandoc -C input.tex -o output.docx
More elements to your .Rmd file
I have a more detailed tutorial on creating .Rmd for rendering to .pdf. The tutorial shows how to include figures, tables, citations, linguistic examples, etc.
4. Putting together a large document: .Rmd parent and .md/.Rmd children
When a document gets long, you may prefer to write different sections separately in separate files. It’s easy to use RMarkdown to put many child files together and organise them into a neat large document. As far as I know, RMarkdown can handle both Markdown children and RMarkdown children. To include child files in a RMarkdown file, use:
```{r, child=c('one.Rmd', 'two.Rmd')}
```
For example, I have written the intro, methods, and discussion sections for a paper separately. Here’s what the main RMarkdown file looks like:
---
title: "Sample"
author: "Yiling Huo"
date: \today
bibliography: ref.bib
csl: apa.csl
reference-section-title: "References"
output:
    pdf_document:
        latex_engine: xelatex
        keep_tex: true
        number_sections: true
---

# Introduction

```{r, child='intro.md'}
```

# Experiment 1

```{r, child=c('exp1_intro.md', 'exp1_methods.md', 'exp1_dis.md')}
```

# General Discussion

```{r, child='general_dis.md'}
```
A sample child document exp1_methods.md:
## Methods

### Participants

Sample text Sample text Sample text Sample text

### Stmuli

Sample text Sample text Sample text Sample text Sample text Sample text Sample text

### Procedure

Sample text Sample text Sample text

## Restults

Sample text Sample text Sample text Sample text

## Discussion

Sample text Sample text Sample text
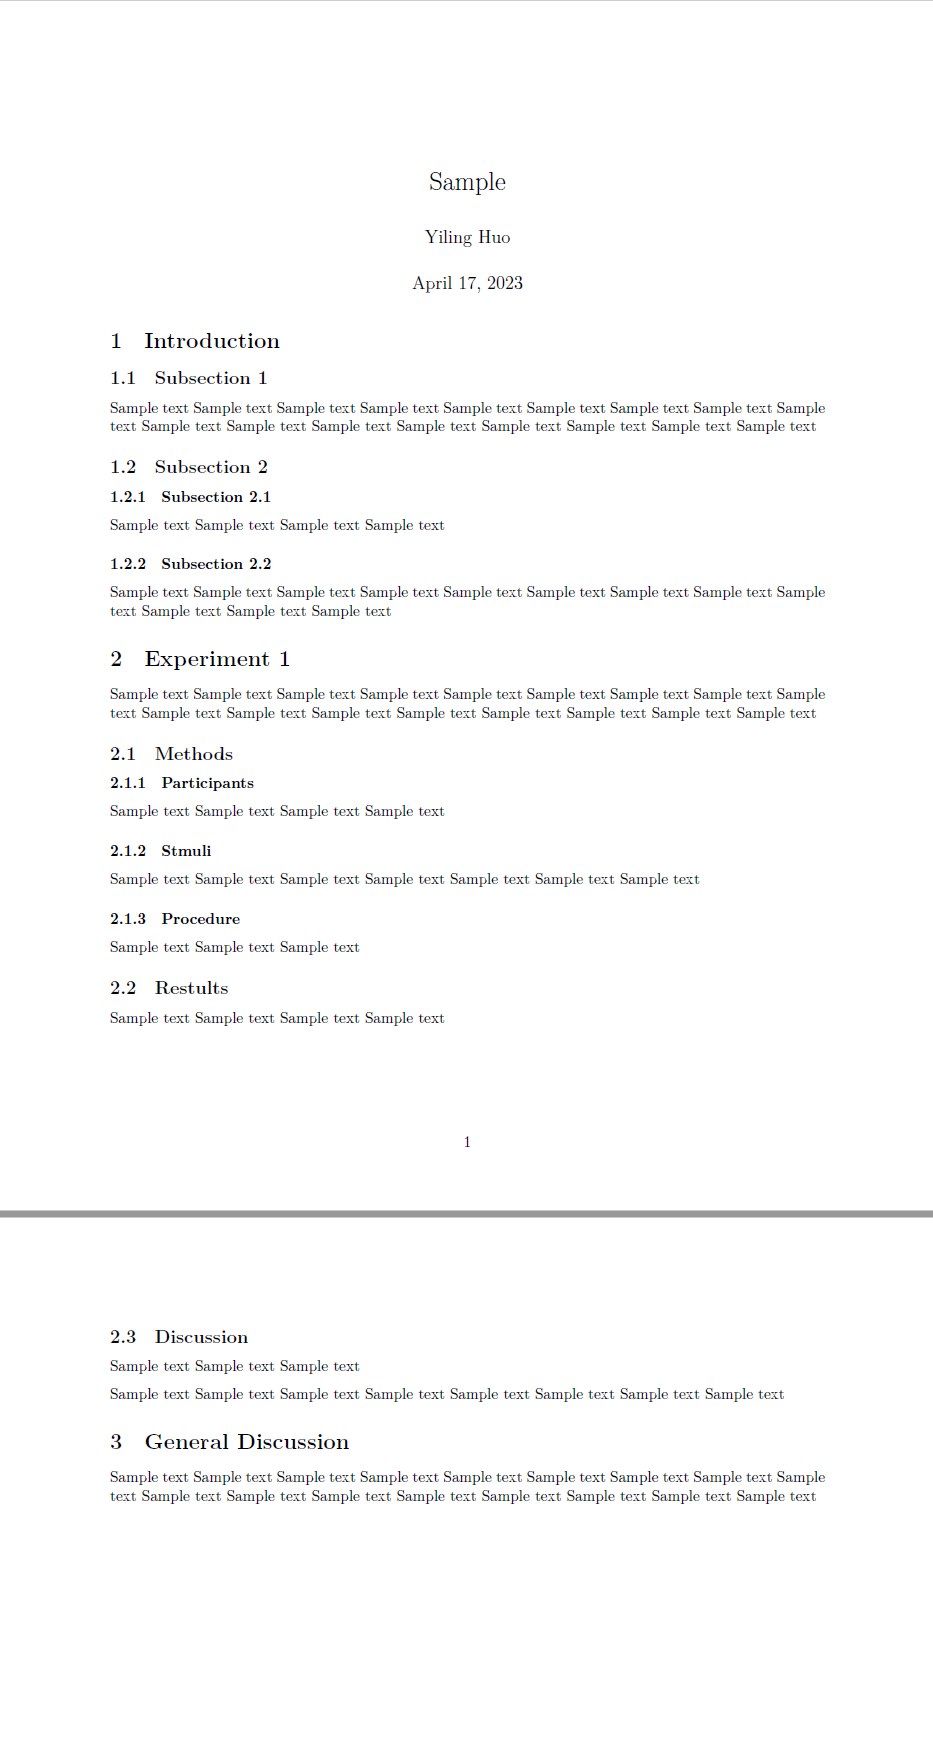
When I knit the parent RMarkdown, the output looks like this:
5. Tips
5.1 TeX to docx conversion
After creating a tex file, I use Pandoc to convert tex to docx. Open a command prompt and go to your working folder. Then run pandoc input-file.tex -o output-file.docx.
5.2 Using VS Code’s snippet
Snippets allow users to easily insert templated codes or texts. I put some frequently used LaTeX codes as snippets for markdown and RMarkdown, such as codes to wrap text around figures, which saves me loads of time and brain cells when I’m writing.
To create your own snippets, select File - Preferences - Configure User Snippets, and then select the markdown or the rmd language.
A language.json file will be opened, where you can create customised snippets for a specific language. The snippet contains a name, a prefix which is what you need to type to call the snippet, a body which is the code context, and a description. For example, this is my snippet for inserting a figure that allows text to wrap around it:
"Latex Wrap figure": {
    "prefix": ["wfig"],
    "body":[
        "```{=latex}",
        "\\begin{wrapfigure}{$1}{0.${2}2\\textwidth}",
        "\\centering",
        "\\includegraphics[width=0.$2\\textwidth]{$3}",
        "\\caption{$4}",
        "\\label{$5}",
        "\\end{wrapfigure}",
        "```"
    ],
    "description": "Wrap figure with latex wrapfigure."
}
Placeholders such as $1 and $2 allow you to quickly jump to the next placeholder with the Tab key. In my example snippet, $1 is where to put the position of the wrap box (l left, r right, etc.), $2 is the percentage width of the figure, with 0.${2}2 in the second body line to automatically set the width of the wrap box to 2% larger than the figure width. $3 is the name of the figure, $4 is the caption, and $5 is the label.
Note that you will need to escape JSON symbols such as backslashes and double quotes by putting a backslash \ in front of them. In order to include the LaTeX line break symbol \\, you’ll need six backslashes in language.json: \\\\\\.
VS Code will not automatically activate snippets for markdown. To force it, press Ctrl+space before typing the prefix.
5.3 My actual workflow
- Write sections of my documents as Markdown files without YAML headers:
Sample text

## Subsection 1

Sample text Sample text Sample text

## Subsection 2

Sample text Sample text Sample text
- Have a parent RMarkdown file with Markdown children (with YAML header):
---
title: "Sample"
author: "Yiling Huo"
date: \today
output:
    pdf_document:
        keep_tex: true
---

# Introduction

```{r, child='intro.md'}
```

# Experiment 1

```{r, child=c('exp1_intro.md', 'exp1_methods.md', 'exp1_dis.md')}
```

# General Discussion

```{r, child='general_dis.md'}
```
- For PDF, knit the RMarkdown file.
- For docx, knit the RMarkdown first while keeping the tex and let Pandoc handle tex to docx:
pandoc input.tex -o output.docx